The first time that you use SyncWith to connect to Google Ads (or another Google service), you must explicitly give SyncWith permission by checking a checkbox.
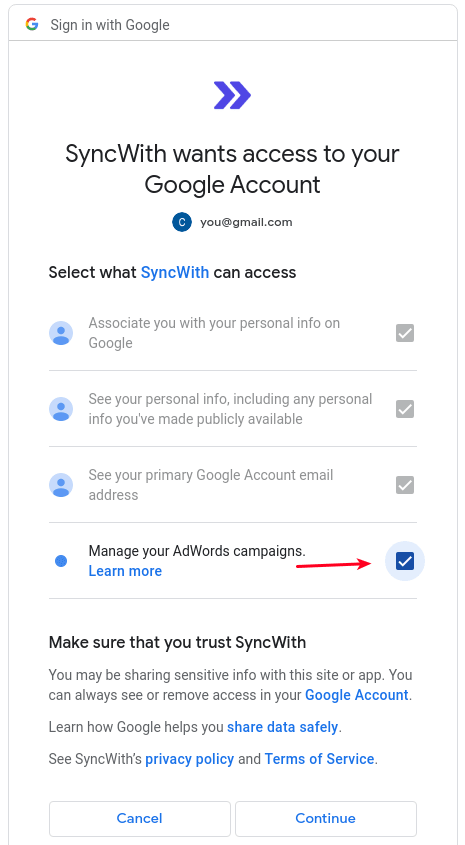
If you see the screen on the left when trying to connect SyncWith to your Google account, you must ensure all the empty checkboxes are checked before clicking
Continue.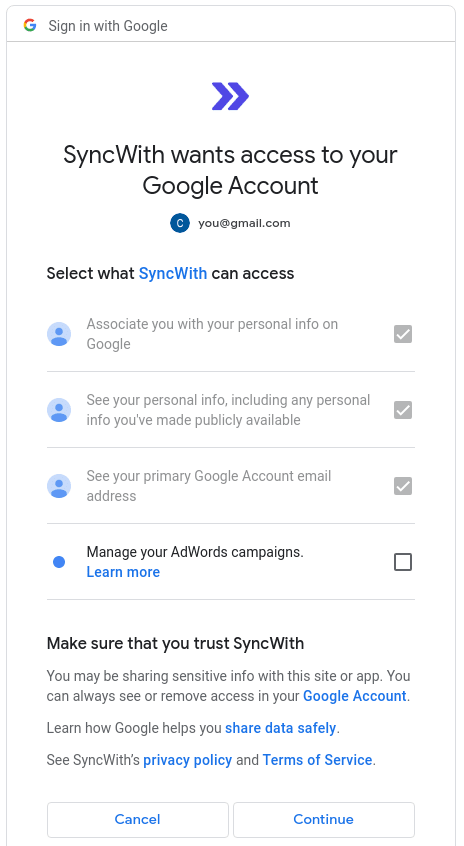
We apologize for the inconvenience. Because this screen is controlled by Google, it's beyond our control to make it more user-friendly.
If you are seeing errors related to
permission denied or 403 Forbidden, please try re-connecting your Google account.On a subsequent attempt to authorize the account, you may see a screen like:
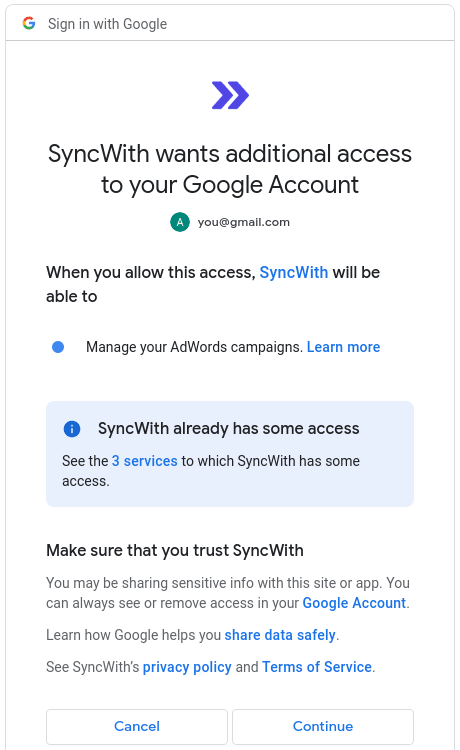
In this case, there are no checkboxes to check, and you can immediately click
Continue to get started.